Shiplap Master Bedroom
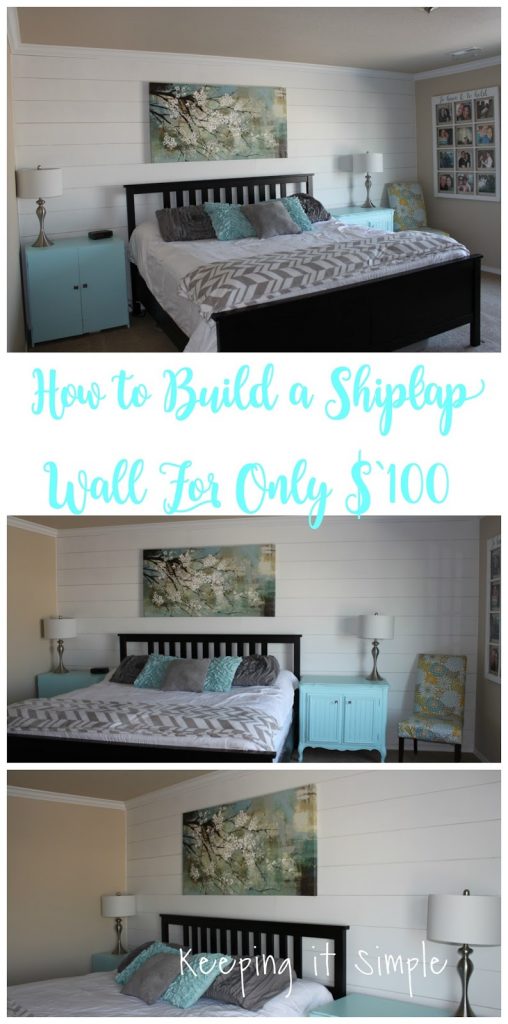
This past weekend we decided to give our master bedroom a face lift and I am so glad that we did. I think that the master bedroom should feel like a spa/retreat so when you have had a really long day, you can go and relax in it and enjoy the space around you. Well our master bedroom was far from a retreat. It looked fine in there but nothing like this. It only took a couple days to do and cost about $100 (for the wall, not the decor) and I am absolutely in love with it! I can't wait to share with your the process of how to build a shiplap wall for cheap.
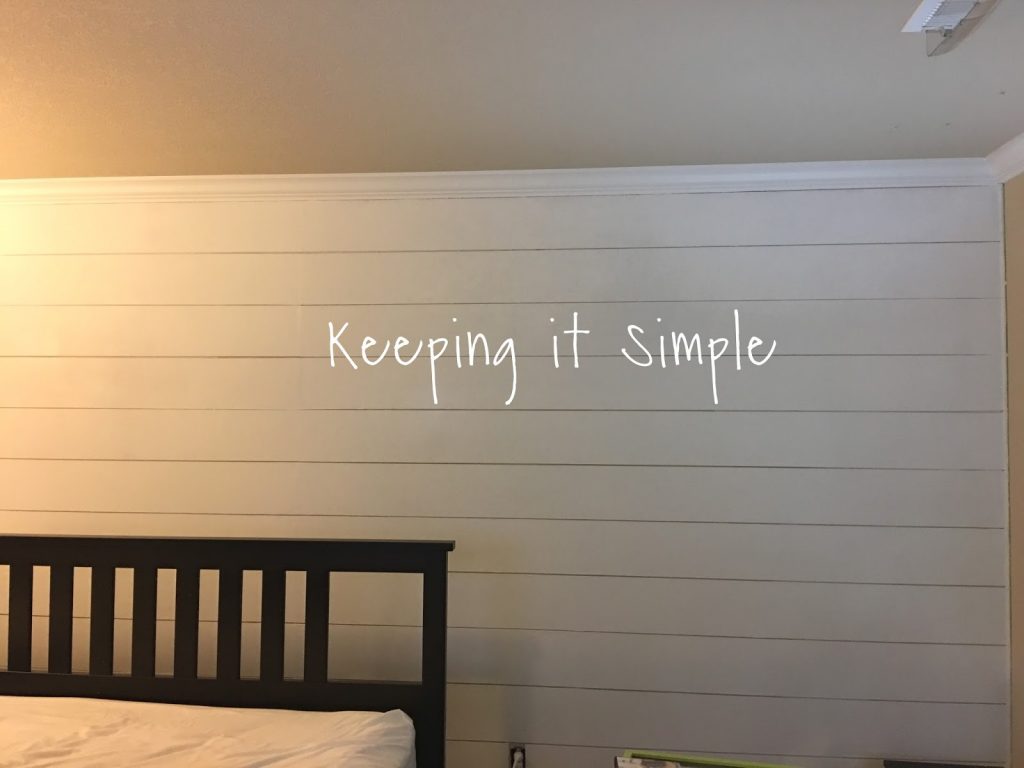
This is what our master bedroom looked like before (well this was a couple years ago, there were some minor changes but this was roughly what it looked like).

This is how I made the shiplap wall.I headed to Home Depot and got the 4×8 underlayment boards that are about 3/16″ thick.

I ended up getting 4 boards because our wall was 90.75″ high and 15 1/2 feet long. We decided that we wanted the planks to be about 8″ wide, so we did a little math to figure out what we needed to cut the boards at. We decided to go with 12 boards, so that meant that there was 13 1/8″ gaps that would be on the wall, so we subtracted 1.625 from 90.75 and got 89.125. Then divided that number by 12, which was 7.43.
 Here is the break down of the costs:
4 boards at $11.97 = 47.88
White paint = $23.00
Primer = $15.00
Other painting supplies = $15So it could be less if you have the paint and supplies, the wood only cost about $50!Using a table saw, we cut the planks 7.43 or 7 7/16 inch.

Once all the wood was cut, I put them into piles so I could sand the edges really fast.

To save on time with the painting, I decided to prime and paint the edges of the edges before putting them up. This is a HUGE time saver, that was one of the worst parts of the whole thing when we did shiplap in our dining room.

To save on time with the painting, I also measured out where the gaps were going to be and did a quite stripe across the wall with the white paint.

Once the paint was dry, it was time to put up the boards. Using a nail gun and finish nails we put up the boards onto the wall. We used a little piece of wood to measure the gaps to space them evenly.
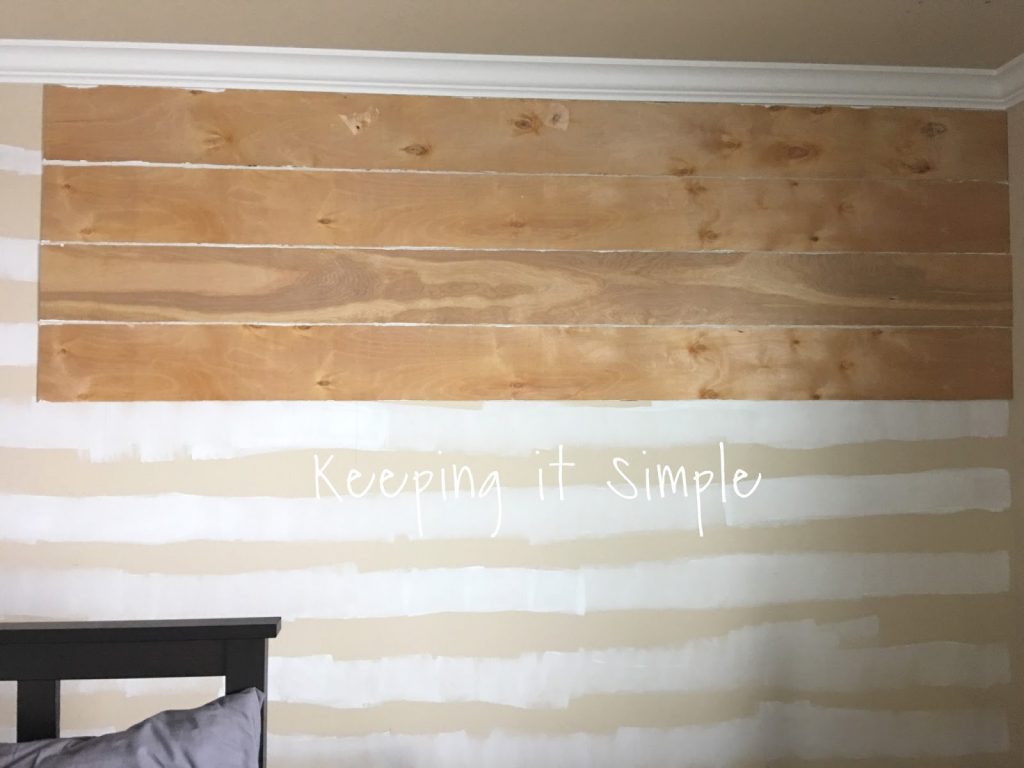
As my husband was putting up the boards, I was filling in the nail holes with wood filler.
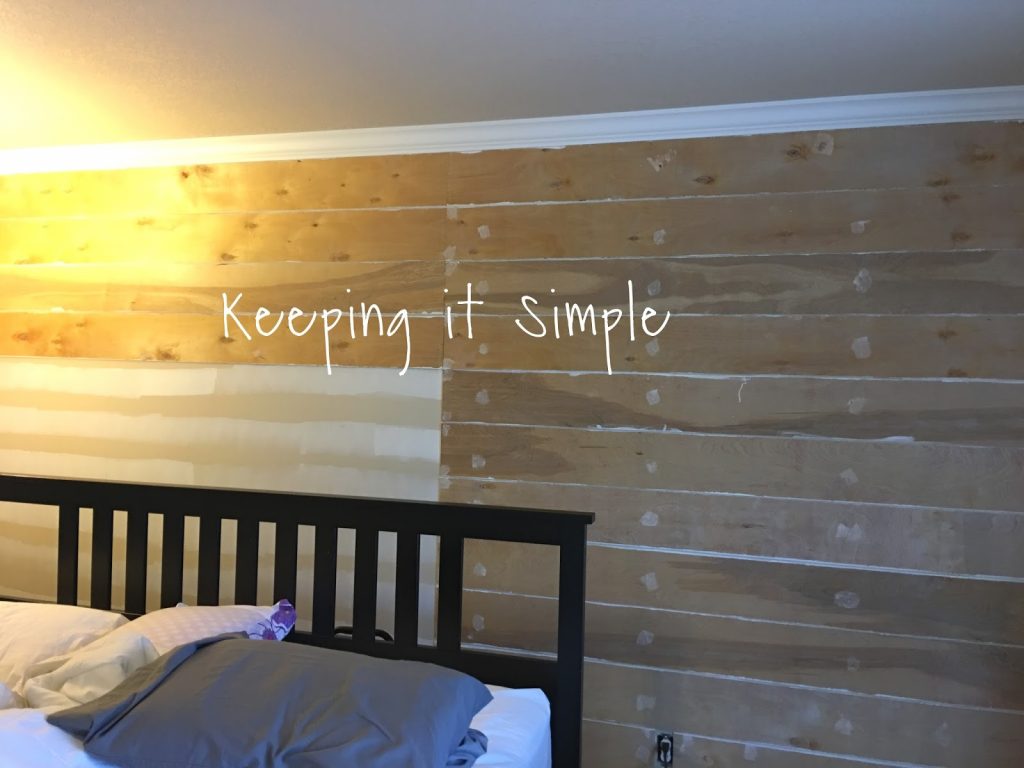
Once it was all up, we filled in the seam with wood filler and sanded up down. Then we sanded and primed the whole wall.
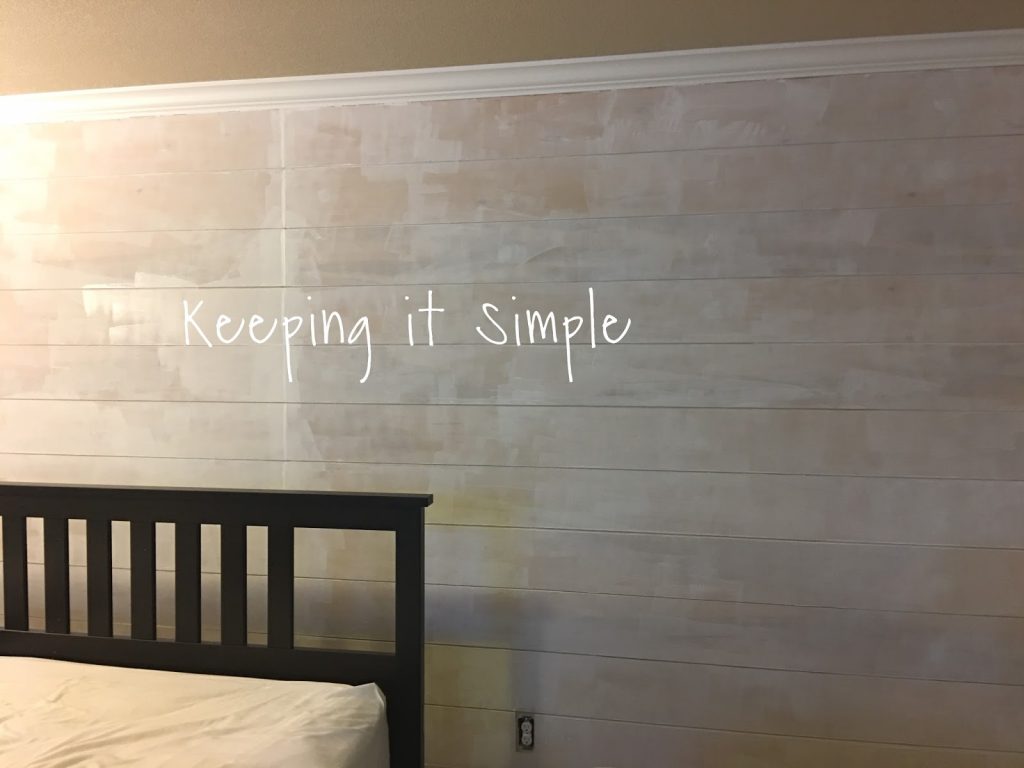
It took about two coats of white paint to cover the hole thing. And since I had already done the edges and the back wall before, I only had to paint the gaps once instead of three times (so much easier!).
And that's it! I put the furniture back and enjoyed my pretty wall (and my cute girl who was reading me a book as I was working).

I did a little bit of rearranging and found some new decor to complete the space. I bought a pair of table lamps, put up this super fun wall art and then added my accent chair that I made for $5 a couple years ago.
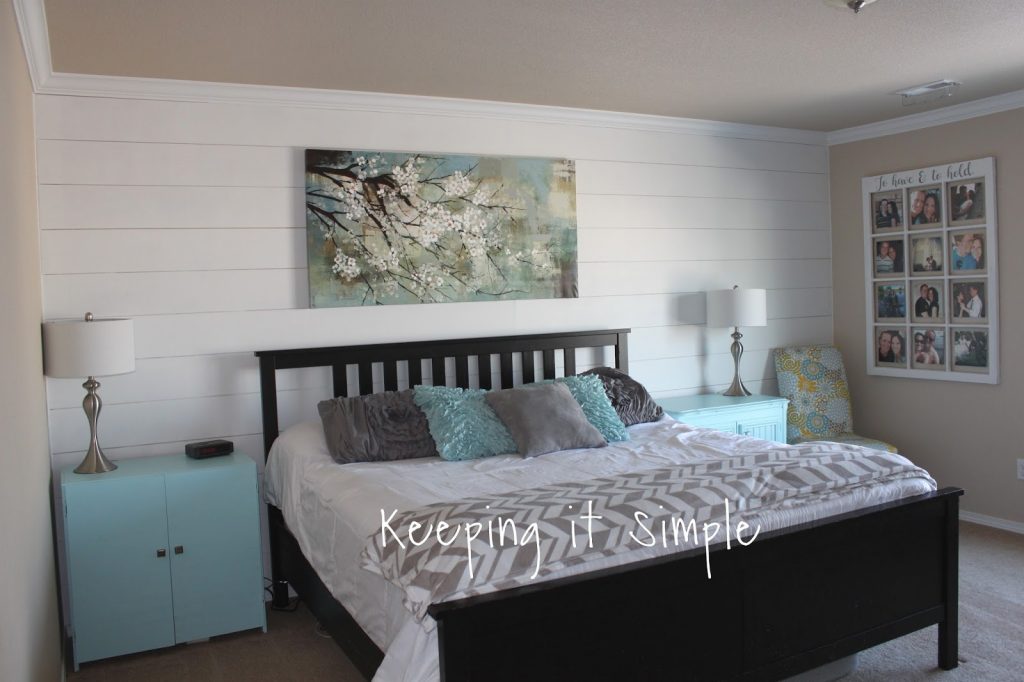
This is my favorite spot in the room though, I just LOVE this corner!

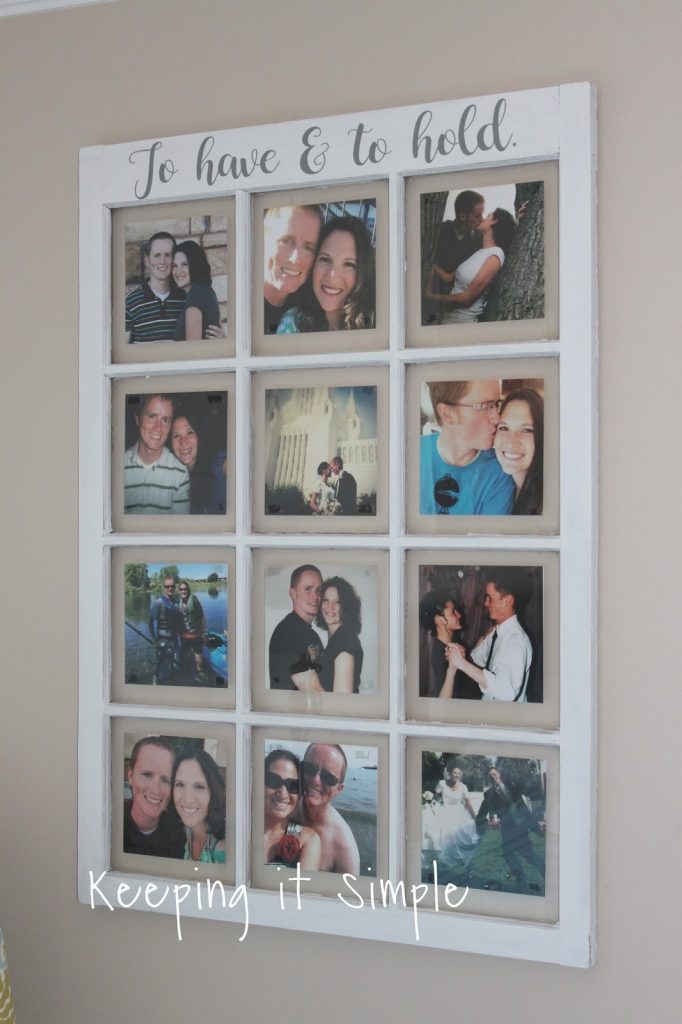
I found this awesome antique window from a friend, so I painted it and then added some vinyl and then some 8×8 pictures of my husband and me. I just LOVE it so very much!
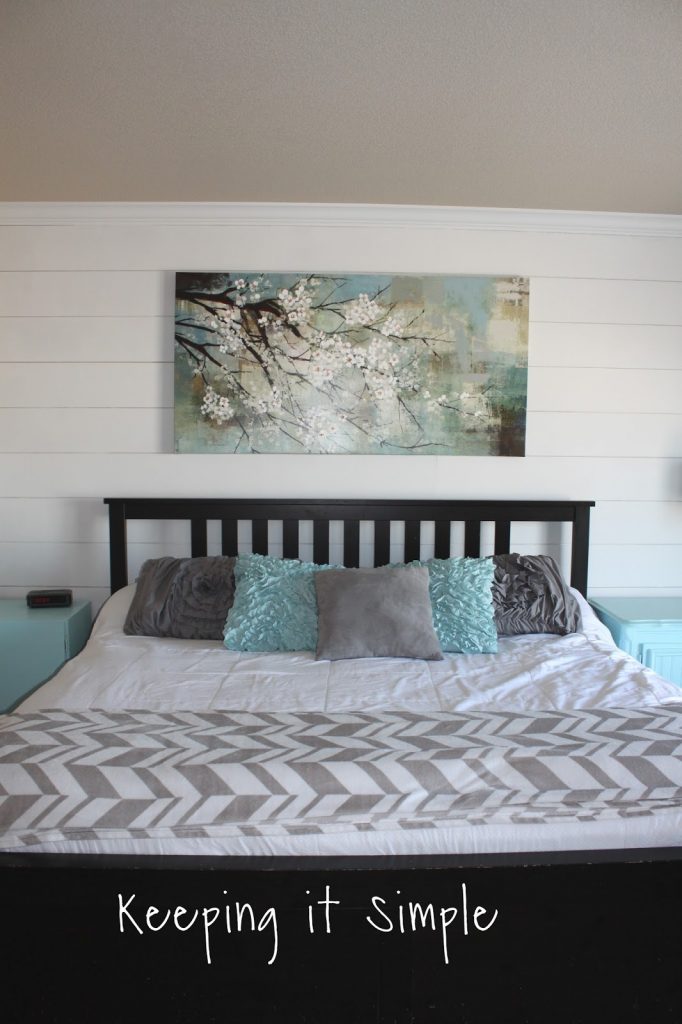
If you've been wanting to make a shiplap wall, you totally should! It's an easy weekend project that is fairly inexpensive and it looks amazing!!! Here is what it looks like now (I painted and added some night stands I built).

If you like this DIY idea, then you might like these ones too!


Reader Interactions
Source: https://www.keepingitsimplecrafts.com/how-to-build-shiplap-in-master-bedroo/
